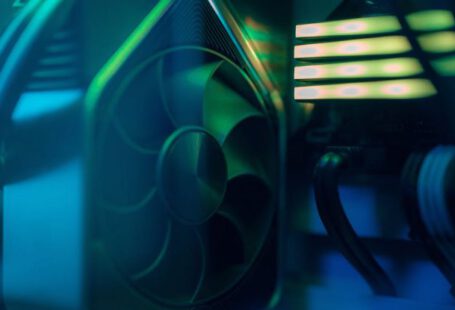
Is your computer running slower than usual? Are you tired of waiting for programs to load and files to open? One potential solution that you may not have considered is adjusting your virtual memory settings. Virtual memory plays a crucial role in the performance of your computer, and making the right adjustments can help speed up its operation. In this article, we will explore whether a virtual memory adjustment can make your PC faster.
Understanding Virtual Memory
Before we delve into how adjusting virtual memory can impact your computer’s speed, it’s important to understand what virtual memory is. Virtual memory is a memory management technique used by operating systems to compensate for physical RAM limitations. When your computer runs out of physical memory, it moves data to an empty space on your hard drive called virtual memory. This allows your system to continue running applications and processes without crashing.
The Role of Virtual Memory in PC Performance
Virtual memory plays a critical role in your computer’s performance. When your system runs out of physical memory, it relies on virtual memory to store data temporarily. However, if the virtual memory settings are not optimized, it can lead to a decrease in performance. When your computer constantly swaps data between physical memory and virtual memory, it can slow down processes and make your PC feel sluggish.
Adjusting Virtual Memory Settings
Fortunately, adjusting virtual memory settings can help improve your computer’s speed and performance. By increasing the size of the virtual memory, you can reduce the frequency of data swapping and minimize the impact on performance. To adjust virtual memory settings on Windows, follow these steps:
– Right-click on “This PC” or “My Computer” and select “Properties.”
– Click on “Advanced system settings” on the left-hand side.
– In the System Properties window, click on the “Settings” button under the Performance section.
– Go to the Advanced tab and click on the “Change” button under the Virtual memory section.
– Uncheck the box that says “Automatically manage paging file size for all drives.”
– Select the drive where you want to adjust the virtual memory and choose the “Custom size” option.
– Set the initial size and maximum size according to your system’s requirements. A good rule of thumb is to set the initial size to 1.5 times the size of your physical RAM and the maximum size to 3 times the size of your physical RAM.
Benefits of Virtual Memory Adjustment
By adjusting your virtual memory settings, you can experience several benefits that can make your PC faster and more responsive. Some of the key advantages include:
– Improved multitasking: With optimized virtual memory settings, your computer can handle multiple tasks more efficiently, allowing you to switch between applications seamlessly.
– Faster program loading times: By reducing the reliance on virtual memory, programs and applications can load more quickly, enhancing your overall user experience.
– Enhanced system stability: Proper virtual memory management can prevent system crashes and freezes, ensuring a more stable computing environment.
Conclusion: Boost Your PC’s Performance with Virtual Memory Adjustment
In conclusion, adjusting virtual memory settings can indeed make your PC faster by optimizing memory usage and reducing the reliance on virtual memory. By following the steps outlined in this article and customizing your virtual memory settings to suit your system’s requirements, you can enjoy improved performance, faster program loading times, and enhanced system stability. Give your computer a speed boost today by considering a virtual memory adjustment and experience the difference in your computing experience.